Micropython as debug shell for ESP32 (and its OLED)
Posted: Mon Oct 30, 2017 8:55 pm
In other thread (see here) I asked how to run built in ROM Basic.
My intent was to use Basic as debug shell for eg. easy testing of pins after soldering.
On Arduinos I use http://bitlash.net/ for that, and for Raspberry Pi Zero I use my Android as Terminal https://www.raspberrypi.org/forums/view ... 6&t=196057 for bash shell.
In the ROM Basic thread WiFive proposed to use Micropython as ESP32 shell instead.
And ESP_Sprite confirmed that ROM Basic would not work with more than one command.
So I wanted to try out Micropython.
Instead of building it myself, I followed most of the steps from this Instructable posting and installed the daily binary:
http://www.instructables.com/id/MicroPy ... ated-SSD1/
I used "~/.arduino15/packages/espressif/esp32/tools/esptool.py" instead of the esptool.py present on my system, because that was for ESP8266 systems and did not work with ESP32.
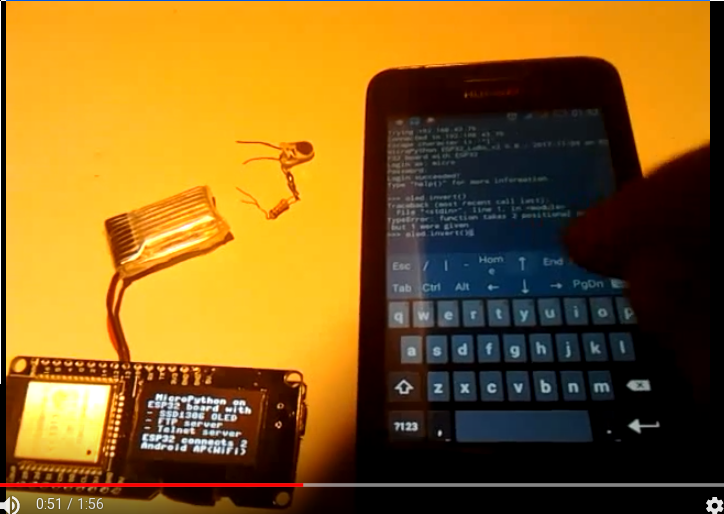
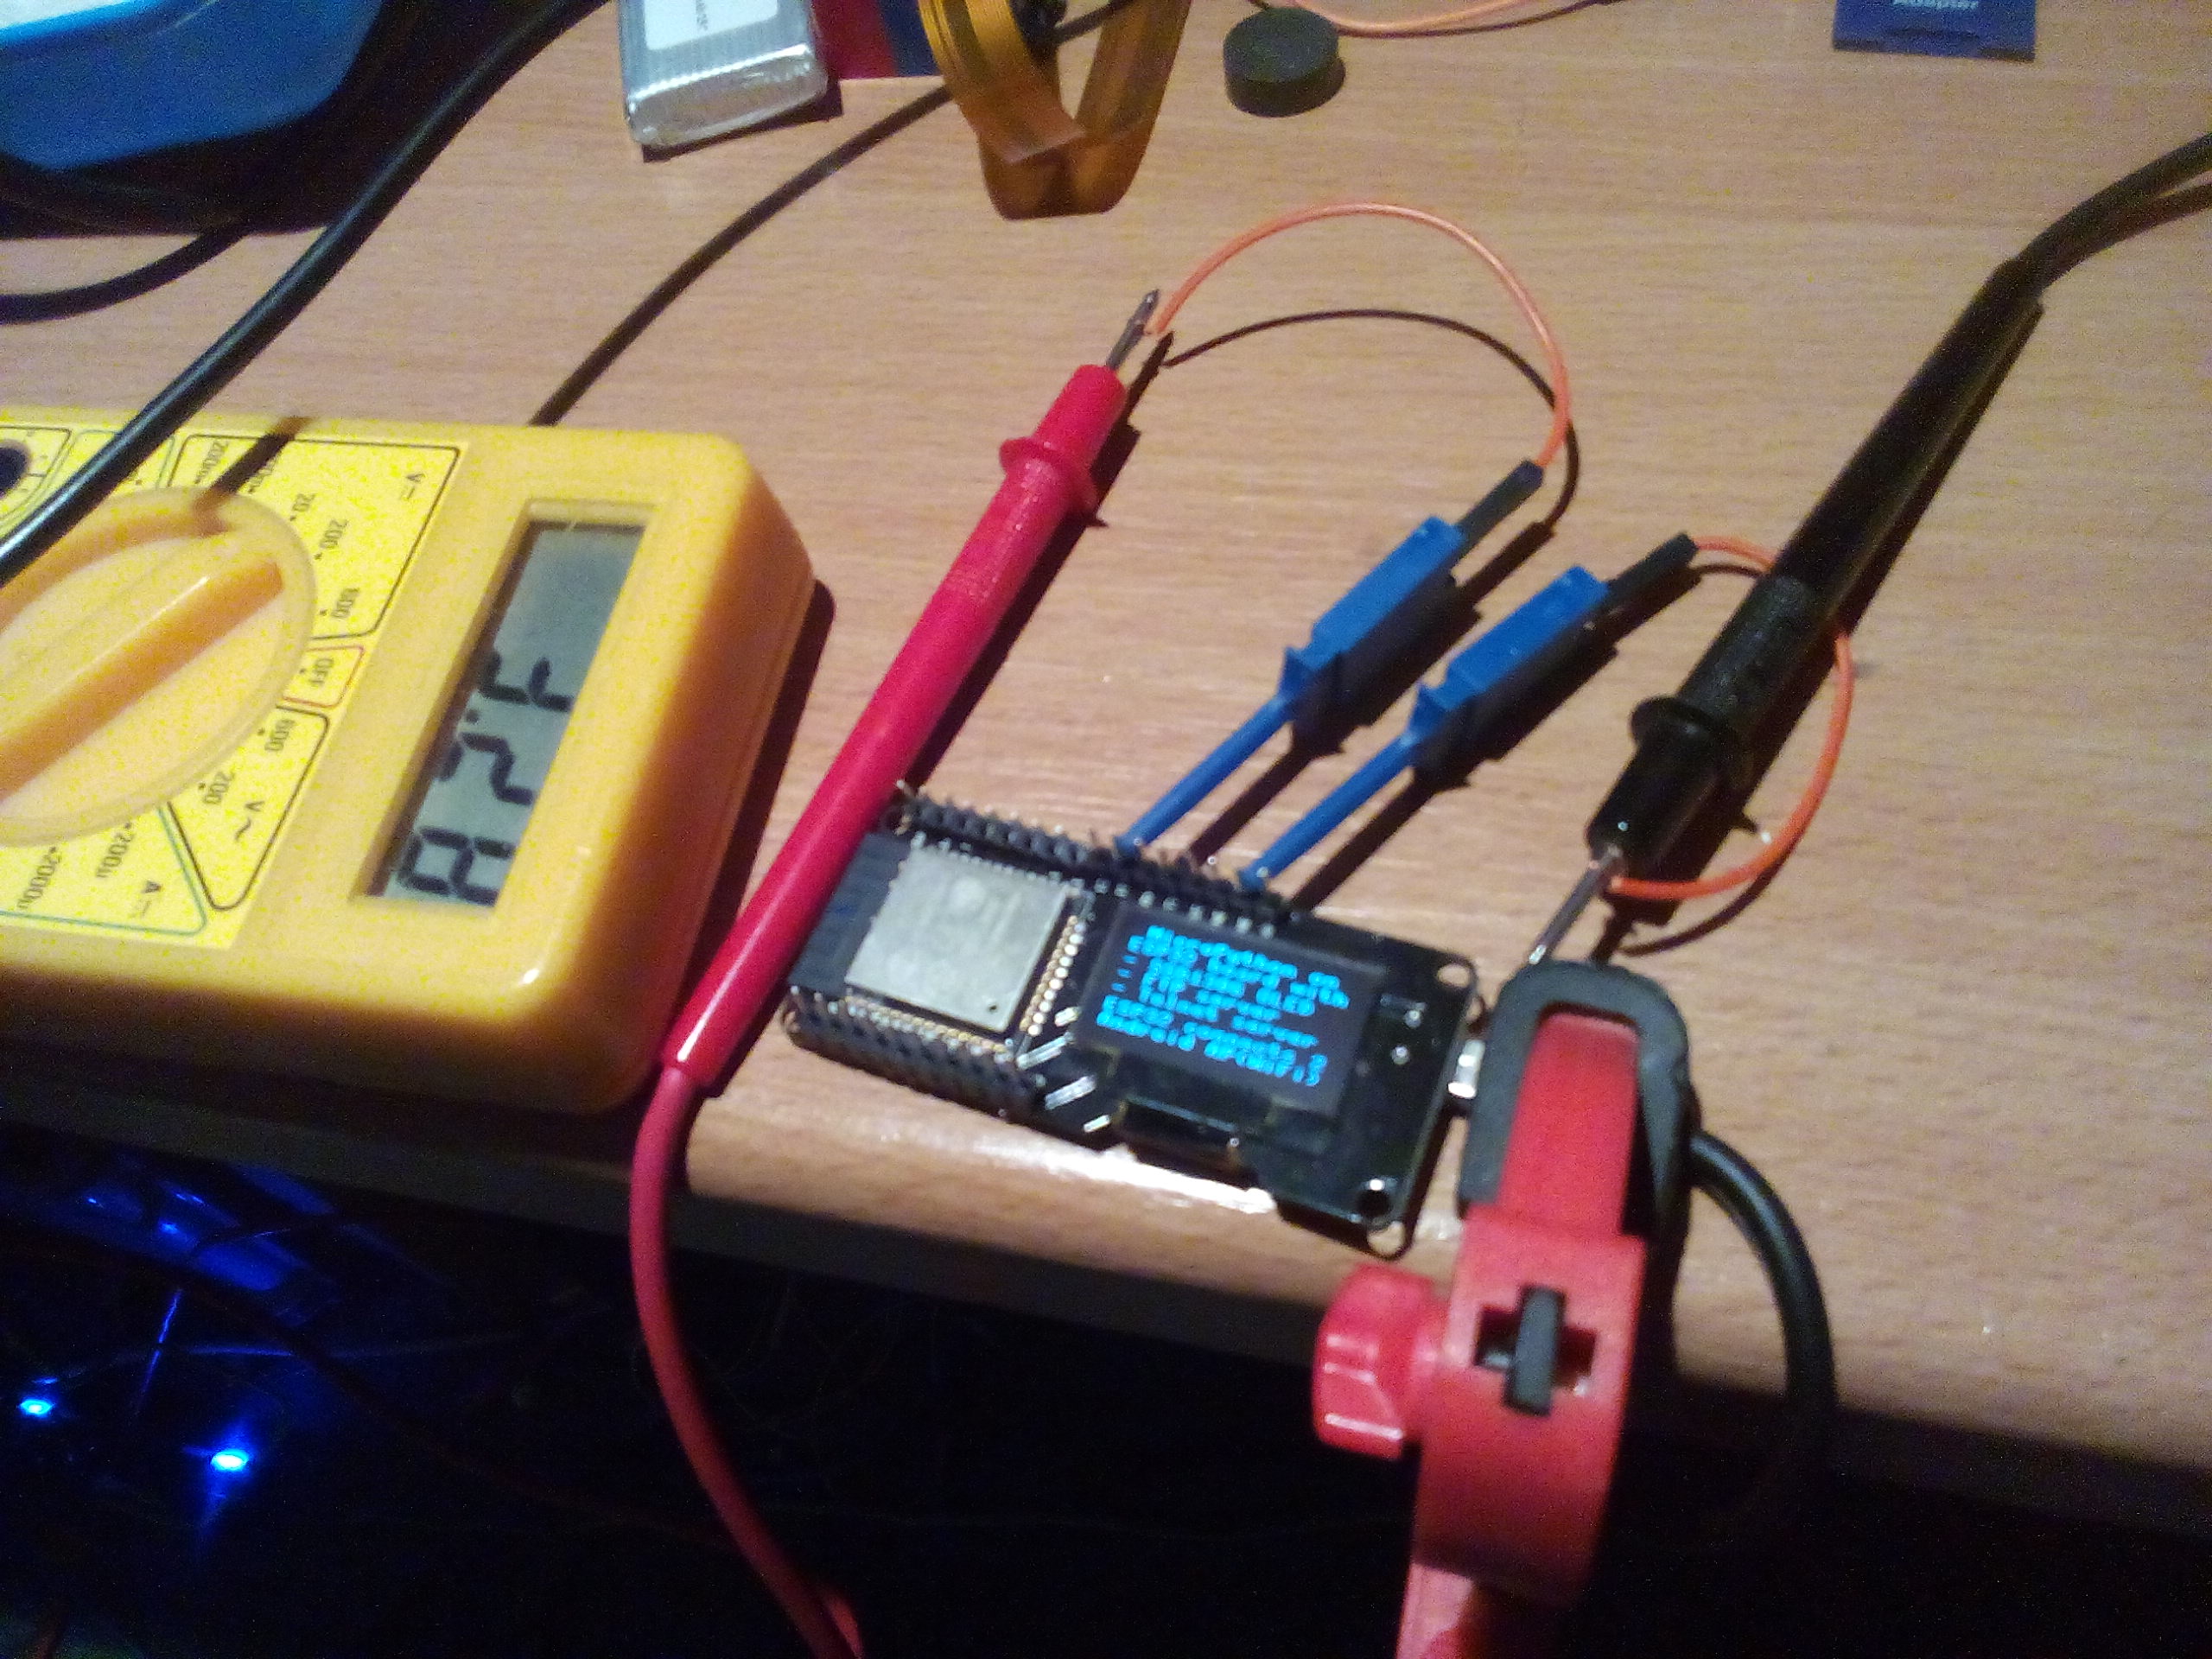
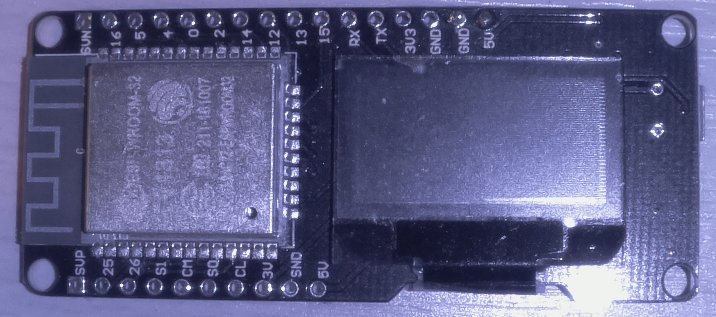
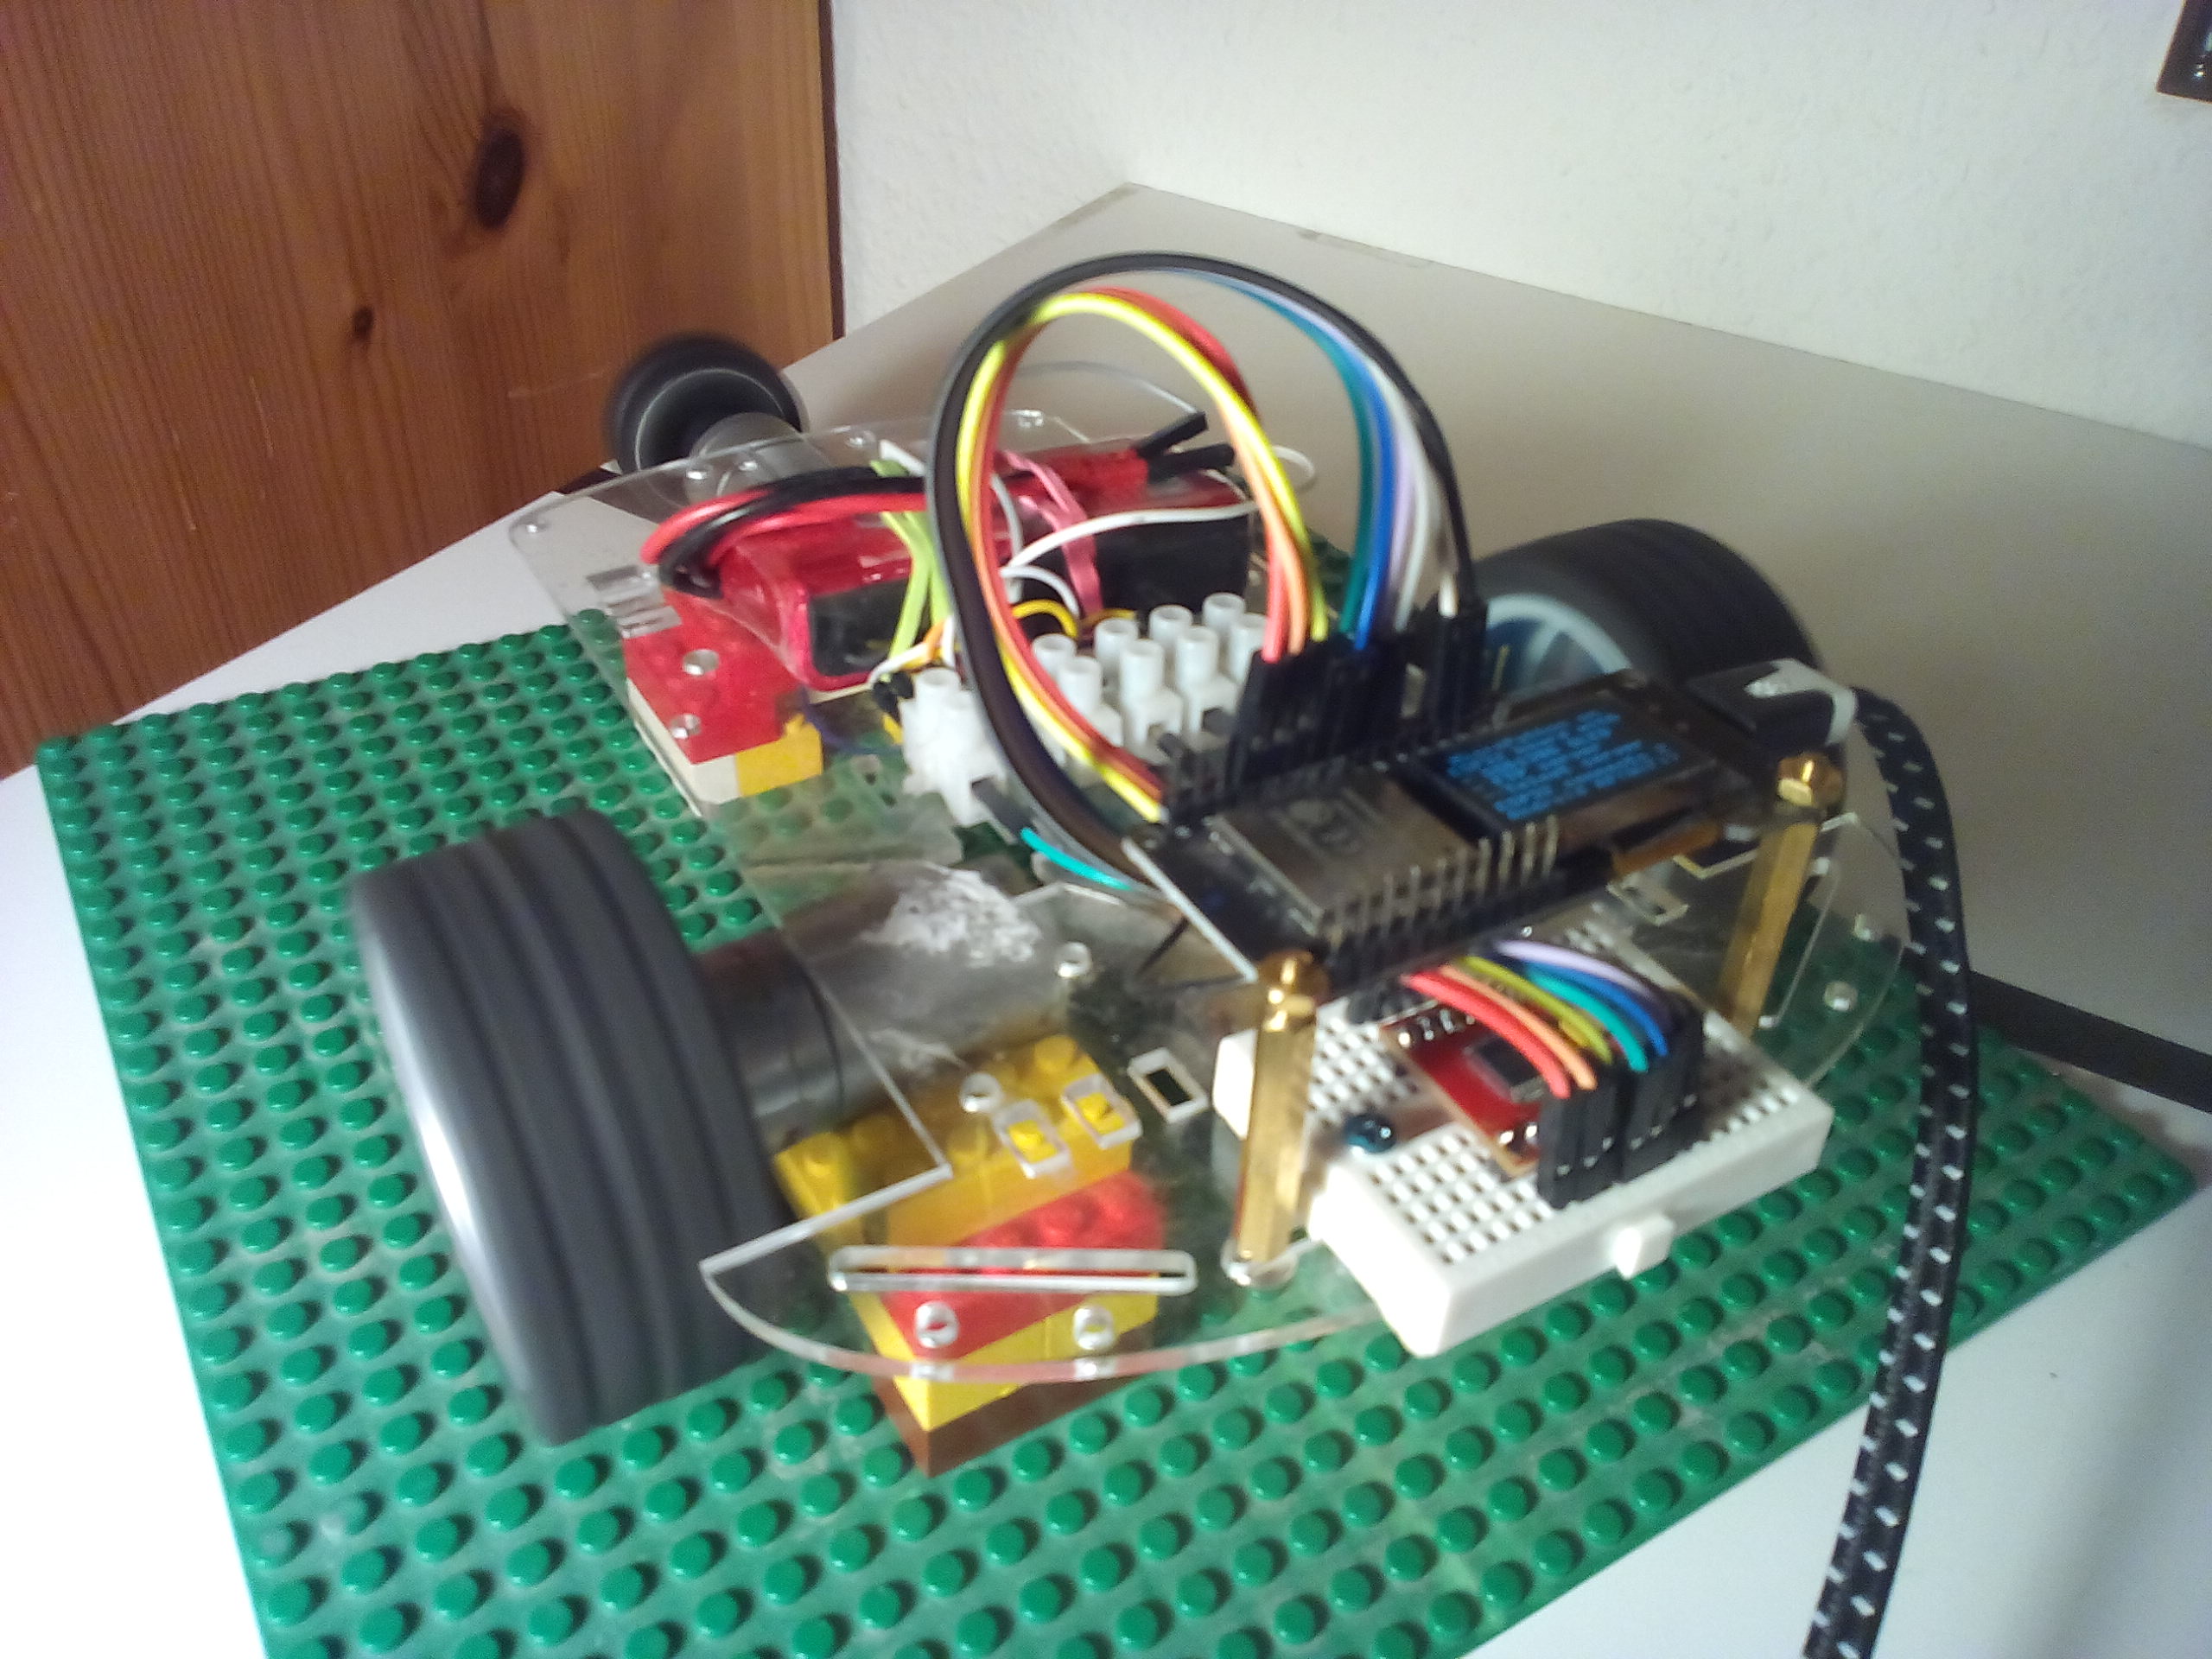
I installed ampy and used that to upload Adafruit "ssd1306.py" to ESP32, and as described in posting that allows to even output to the OLED!
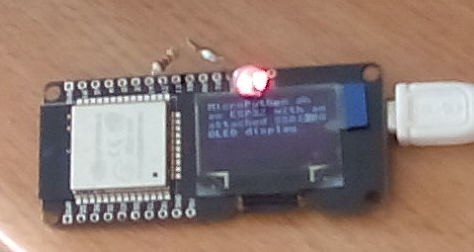
You can copy&paste several lines at once, but all OLED lines together do not work due to some buffer limits, but two parts work.
You can copy&paste this
and then this
I typed "help()" and from it I copied these three lines:
This lighted the LED (with resistor) connected to pin 12 and GND.
Help says that even Wifi can be done with few statements.
So definitely Micropython is much more than what I need for ESP32 debug shell, I will use it !
Hermann.
P.S:
I was not able to get minicom to work with Micropython. I remembered an even easier command, and "screen /dev/ttyUSB0 115200" works perfectly!
P.P.S:
Just learned howto do Arduino IDE Blink sketch in Micropython:
My intent was to use Basic as debug shell for eg. easy testing of pins after soldering.
On Arduinos I use http://bitlash.net/ for that, and for Raspberry Pi Zero I use my Android as Terminal https://www.raspberrypi.org/forums/view ... 6&t=196057 for bash shell.
In the ROM Basic thread WiFive proposed to use Micropython as ESP32 shell instead.
And ESP_Sprite confirmed that ROM Basic would not work with more than one command.
So I wanted to try out Micropython.
Instead of building it myself, I followed most of the steps from this Instructable posting and installed the daily binary:
http://www.instructables.com/id/MicroPy ... ated-SSD1/
I used "~/.arduino15/packages/espressif/esp32/tools/esptool.py" instead of the esptool.py present on my system, because that was for ESP8266 systems and did not work with ESP32.
I installed ampy and used that to upload Adafruit "ssd1306.py" to ESP32, and as described in posting that allows to even output to the OLED!

You can copy&paste several lines at once, but all OLED lines together do not work due to some buffer limits, but two parts work.
You can copy&paste this
Code: Select all
import machine, ssd1306
i2c = machine.I2C(scl=machine.Pin(4), sda=machine.Pin(5))
oled = ssd1306.SSD1306_I2C(128, 64, i2c)Code: Select all
oled.fill(0)
oled.text('MicroPython on', 0, 0)
oled.text('an ESP32 with an', 0, 10)
oled.text('attached SSD1306', 0, 20)
oled.text('OLED display', 0, 30)
oled.show()Code: Select all
import machine
pin12 = machine.Pin(12, machine.Pin.OUT)
pin12.value(1)
Help says that even Wifi can be done with few statements.
So definitely Micropython is much more than what I need for ESP32 debug shell, I will use it !
Hermann.
P.S:
I was not able to get minicom to work with Micropython. I remembered an even easier command, and "screen /dev/ttyUSB0 115200" works perfectly!
P.P.S:
Just learned howto do Arduino IDE Blink sketch in Micropython:
Code: Select all
import machine, time
pin12 = machine.Pin(12, machine.Pin.OUT)
while True:
    pin12.value(1)
    time.sleep(1)
    pin12.value(0)
    time.sleep(1)
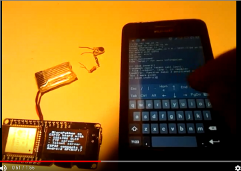
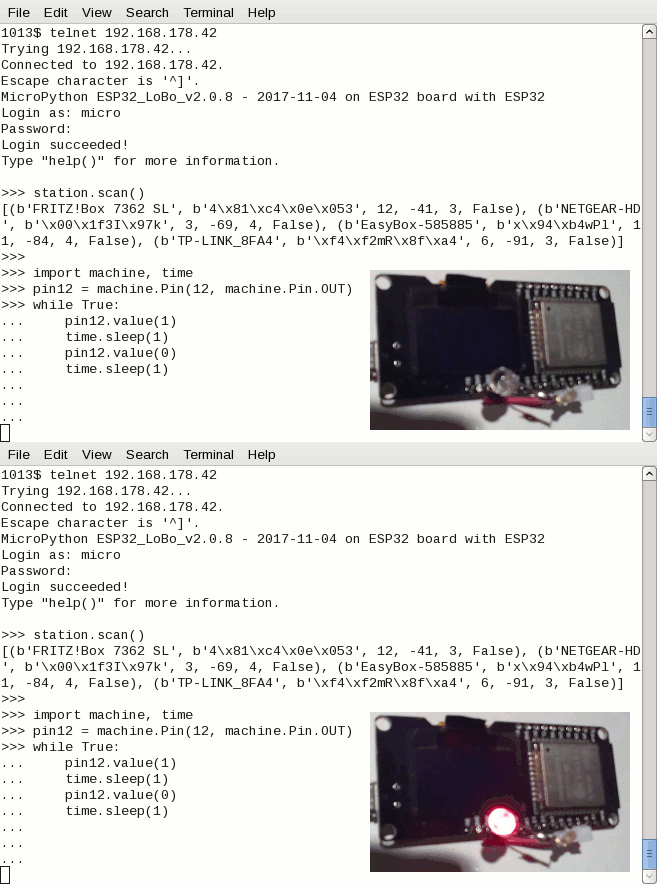
 app):
app):